Friday, April 29

Mother's Day Tea

Mother's Day is May 8th, so I decided to share a simple DIY Mother's Day treat. You can create this for just you and your mom, or expand it to include all the Moms in your circle. I found the printables on Pizzazzerie's blog, that she got from Nic. Roc Designs...oh the networking! I love finding free printables for any occasion, I always grab them as soon as I see them, you never know when they might come in handy for a party. This time, I found them and used them right away! So I can share with everyone and hopefully you can use them too. Just click here and you can get them too.

Mommy & Me Tea
Teapot from Superstore $15, cups from Hallmark --they were a gift

Made the bunting out of scrap booking paper and matching ribbon. If you have fabric you can use that, keep in mind it will make it a little heavier to hang.

Mommy & Me Tea
A few treats for your tea, and lemonade for the little ones
One of the free printables I snagged

Lemonade for the minis
Almond Meringues

Cupcakes with fondant. I cheated and tried out a doctored cake mix, Dream Cake. Check out other doctored cake mixes here, some of them sound pretty yummy.

New edible ink markers!!
 I didn't forget!! Here are the recipes for the Meringues and the Gingerbread Biscotti. Enjoy!

Gingerbread Biscotti

Last night we were out picking up a few things and we wondered down the snack aisle...usually a bad idea. But last night it was a good thing! I saw all these different kinds of Biscotti and they looked soo good. I wanted to take one of each, but I resisted... Until today! Came home to look up a recipe and found the one that sounded the most appealing to me, Gingerbread. I have never made Biscotti before, so I wasn't sure what to expect but I think it turned out really well.

Gingerbread Biscotti with Chocolate Drizzle


Gingerbread Biscotti
1 c rolled oats
1 3/4 c flour
3/4 c brown sugar
1/2 tsp salt
1 tsp baking powder
1/2 tsp baking soda
3/4 tsp ground cinnamon
1/2 tsp ground cloves
1/2 tsp ground ginger
2 eggs
1/4 c molasses
2 tbsp light olive oil
1/2 tsp vanilla
3/4 c raisins
3/4 c hazelnuts or pecans, toasted (optional)

Process 1/2 c oats in a food processor until finely ground.

In the bowl of your mixer (or a bowl with a hand mixer) combine all dry ingredients and spices including the oats you just processed.

In another bowl whisk together eggs, molasses, oil and vanilla. With the mixer on low, slowly add the egg mixture to the dry ingredients. Scraping the bowl as needed. Mix in the raisin and nuts.

Transfer dough to a lightly floured surface and divide in half. Form each half into a log shape about 12" long x 2" wide. Put the logs on a parchment lined baking sheet, about 3" apart. 

Biscotti ready for the oven

Bake @ 350 degrees for about 30 minutes, until its golden brown and firm to the touch. Remove from baking sheet and cool on a wire rack for 10 minutes. Reduce oven temp to 300 degrees. 

Using a sharp knife, cut the biscotti on a diagonal about 3/4" thick. Put each slice back on the baking sheet, cut side down, and return to the oven for 6-8 minutes. Flip and bake another 6-8 minutes until dry and firm.

I also melted some chocolate and drizzled it over the top, just to make them extra yummy :) If you don't have chocolate on hand or you want something different you can try making a simple glaze.

Glaze
1/2 c Icing Sugar
1/2 tsp Vanilla
2-3 tbsp of milk
Mix together and drizzle over your biscotti!

Almond Meringues

Have company coming that you want to impress? These are an easy, inexpensive treat to make that everyone is sure to like.

Almond Meringues (via Allrecipes)

2 egg whites
1 c 2 tbsp White sugar
1/2 tsp Almond extract

Preheat the oven to 200 degrees and line a baking sheet with parchment.

In the bowl of your mixer (or a large bowl, using a hand mixer) whip eggs until foamy, add almond extract. Sprinkle in sugar a little at a time while keeping the mixer running at medium speed. When the mixture becomes stiff and shiny transfer to a piping bag fitted with a star tip. Pipe meringues about an inch apart on the cookie sheet. 

Bake for 3 hours, until the meringues are dry and can easily be lifted off the cookie sheet. Store in an airtight container.

You can add coloring  at the same time you add the extract to make them match any theme.

Tuesday, April 26

Crispy Creamy Doughnuts

Last night I was browsing around twitter and checking out different blogs when I came across "The Purple Pug". There was a link to her Facebook page so I went to check it out. The first thing I do when I check out a new party page is scope out the pictures, so as I'm looking through the pictures I see these super cute little donuts. Donuts are something I had never made before, and they looked so cute. I have a couple parties coming up this summer and new treats are always fun, so I went on a recipe search. 
Homemade mini Doughnuts!


Crispy Creamy Doughnuts (source Allrecipes )
Makes 2 dozen mini doughnuts and 2 Dozen Doughnut Holes

1 envelope of dry active yeast
2 tbsp warm water (105-115 degrees)
3/4 c luke warm milk
1/4 c sugar
1/2 tsp salt
1 egg
2 tbsp + 2 tsp Shortening
2 1/2 c Flour
2 c oil for frying

Glaze
2 tbsp + 2 tsp Butter melted
1 c icing sugar
3/4 tsp vanilla
2 tbsp hot water (as needed) 
Mix melted butter, icing sugar and vanilla together. Add hot water to make the glaze a smooth consistency for dipping, but not too watery.

Sprinkle the yeast over warm water, let stand for 5 minutes. In a large bowl, or your mixer bowl fitted with the dough hook, add all ingredients except 1 c of flour. Mix. Beat in remaining flour 1/4 c at a time until the dough no longer sticks to the sides of the bowl. Knead for 5 minutes, until smooth and elastic. Place dough in a greased bowl in a warm place to rise until doubled. Its ready when you touch the dough and the indent of your (clean) finger stays. Be patient, its so worth it.


Roll dough to a 1/2 " thickness and cut with a doughnut cutter, or 2 circle cutters 1 bigger than the other. Let doughnuts sit and rise again for an hour or so, covered with a tea towel. While your waiting for the doughnuts to rise you can make the Glaze and heat the oil. 

Slide doughnuts into the oil with a wide spatula, turn over when they are golden brown on the bottom. They are done when golden on both sides, scoop out and let sit on a cooling rack with a cookie sheet underneath to catch the oil drips. When they are cool enough to handle (but still warm), dip them in the glaze and then sprinkles if you want. 
I used 2 different sized Circle cutters for my Doughnuts and it worked just fine, but a doughnut cutter would have been convenient.


What the looked like just before sliding into the oil

Inspired by the The Purple Pug  Also linked on my sidebar!

Sunday, April 24

Spinach Triangles

On Friday we got together with friends for a Belated Birthday BBQ, pour moi! =) We always have BBQ's in the summer with the neighbors that are always a great time. I was grabbing some vegetables out of the freezer and saw  had left over phyllo pastry....well!! I decided I was going to make us a little appie, here's what it turned out to be! PS They were Delicious! 


Took about 15 minutes to throw these together, great last minute snack or appetizer! I didn't really measure the stuff I just threw it together, so here's an estimate for the amount of triangles I made...Its cooking...doesn't need to be exact. If you want more bacon add more bacon...if you want more dill....well you get the point!  These are a pretty popular appetizer, this is just my version.

Spinach Triangles
4 sheets phyllo pastry, thawed
1/2 c Cream Cheese, softened
2 tbsp onion, finely chopped
1 tsp dill weed
3 oz frozen spinach (*)
1 tbsp Bacon Bits
melted butter 

(*) When you buy frozen spinach it comes frozen in those little balls, each one while still frozen is 1 oz. So you need 3 of them, thaw them in the microwave and then using a kitchen towel, squeeze out all the water.

Mixed Cream Cheese, onion, dill, bacon bits and thawed spinach together in a bowl. Brush one sheet of phyllo with melted butter, place another sheet on top. Using a sharp knife cut the layered phyllo into 5 strips and spoon some filling onto one end.

Fold phyllo into a triangle...here's a little diagram to help you along.

Folding Phyllo into a triangle

Brush with melted butter. Place onto a parchment lined tray and bake in a 350 degree oven for 25-30 minutes, or until browned, checking every 10 minutes.

Come out of the oven looking like this....
I suggest that everyone try making these once! They look great, are easy and SO SO good! 


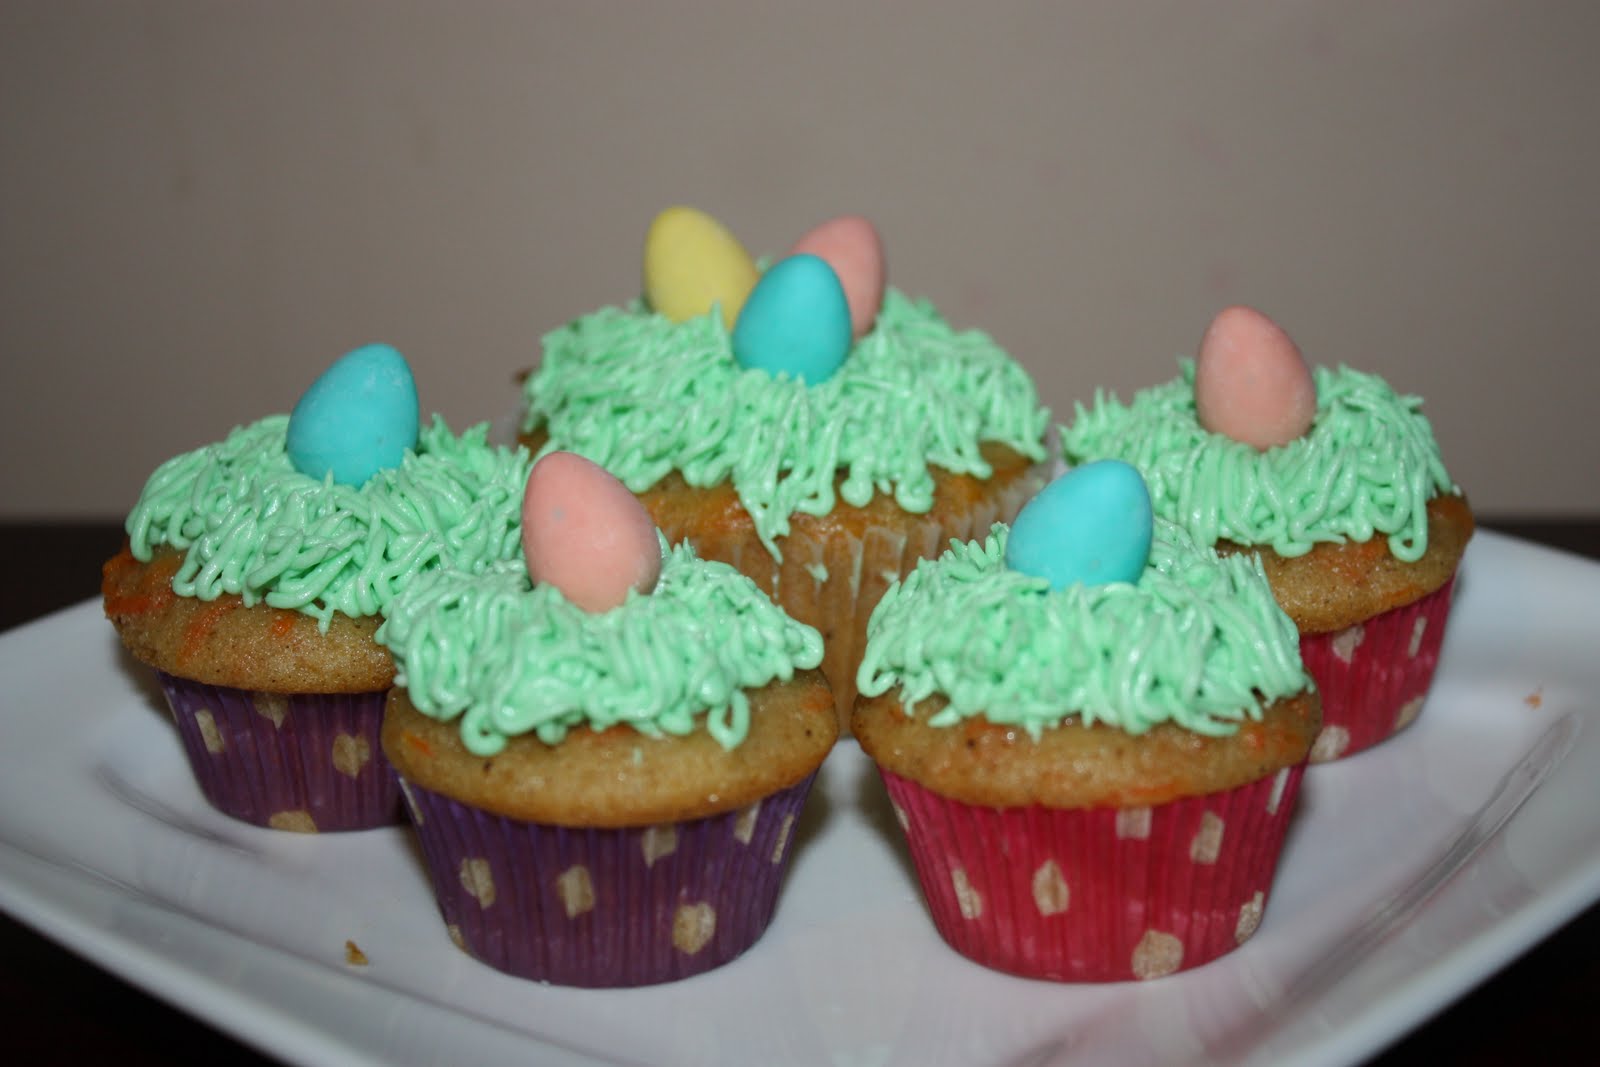
Of course every BBQ needs dessert aka cupcakes...So I made some vanilla cupcakes and used the chocolate icing from the Chocolate Salted Caramel Cupcake recipe that I had tucked away in the freezer. Took it out, let it thaw...it was perfect! Just like the day I made it. I had grabbed a printable Easter topper freebie a little while ago (I apologize, I completely forgot about it otherwise I would have shared) so I printed those and threw together a couple toppers. Voila! 

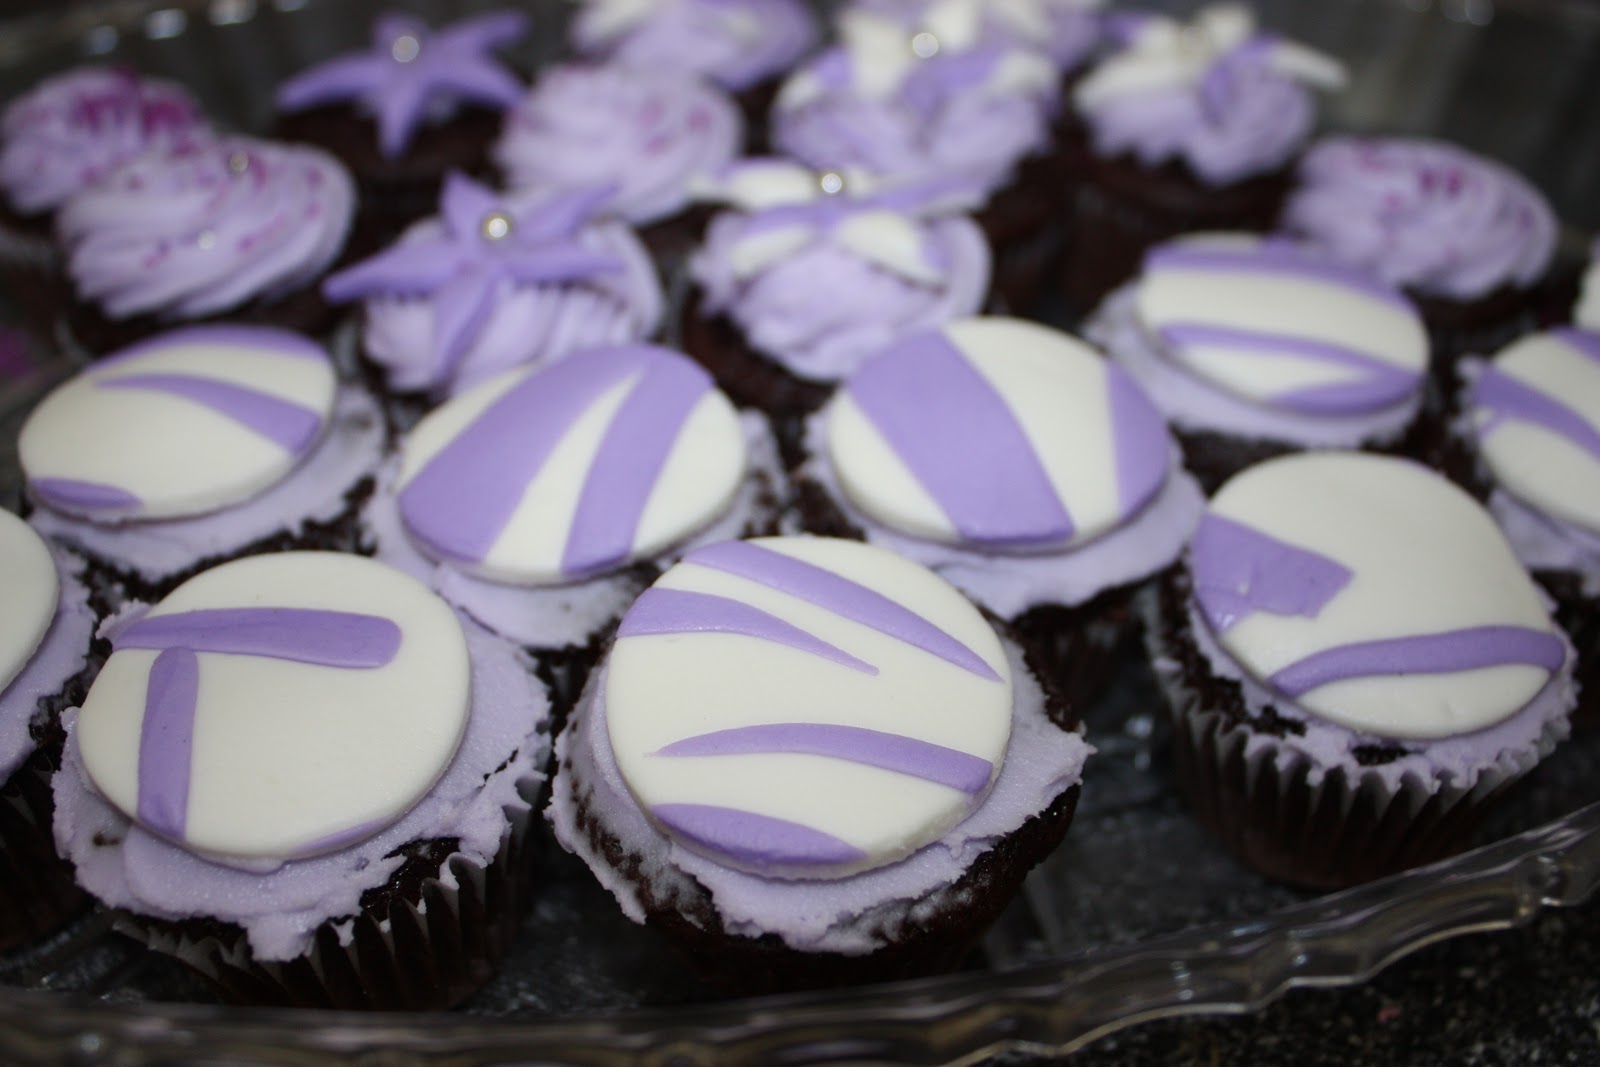
I made sure to make enough  for tea for our Easter visitors

Wednesday, April 20

Easter Cupcakes

I Love Easter! Getting back into Cupcakes is pretty easy when Easter is just around the corner. This week has been pretty slow going but I'm finally starting to get into the swing of things. Yesterday I made carrot cupcakes, seemed fitting for Easter, and I got to try another new recipe. Carrot cake is never complete without Cream Cheese Icing, so of course this is what I chose for the icing. 

Carrot cupcakes with Cream Cheese Icing


Cream Cheese Icing
1 c butter
12 oz Cream cheese
4 cups icing sugar
1 tsp vanilla

With the mixer on medium high cream, cream cheese and butter together until smooth. Reduce speed and add icing sugar 1/2 c at a time, then add vanilla. Mix until smooth and combined. Frosting can be stored in airtight container for up to 3 days if your not planning on using it right away. When you take it out of the fridge just beat it again with your mixer until smooth.

Big and mini carrot cupcakes for Easter.

I bought a grass tip a little while ago and I've been wanting to use it for something, Easter grass seemed fitting.  It was a lot easier than trying to make grass with a single hole tip, but I found a couple of the holes would get clogged up every once in awhile. I just ran the tip under hot water and then squeezed a little of the icing out so it wouldn't be runny on the cupcakes. Like anything, making grass is one of those things that is going to take some practice and getting used to.Luckily grass is never perfect!

Sunday, April 17

Back To Reality

Hola Amigos!

I think its going to be a little difficult to get back into the swing of things when your used to waking up to this every morning. I'm feeling a little out of touch with technology but I'm going to try and do my best to get back into it quickly.
Iberostar Laguna Azul, Varadero


 Cuba was great! Had a few set backs, but come the end of the trip it was great to just wake up and head straight to the beach for the day. The most amazing thing in the world was there wasn't a clock to be seen anywhere. There was no schedule, but really....what did it matter? It was very nice. 

We made the trip for a wedding on my husbands side of the family. It was so great to share the great scenery and amazing trip with so many members of his family, to see people we hadn't seen in a few years and to meet some great new people. I also celebrated my Birthday while we were away by snorkeling with some tropical fish, laying on the gorgeous beach and ended the day with a nice family dinner and some celebratory drinks with family and new friends.

Birthday Supper with the Cyr's


So in my last post I said I might try and get a Cuban recipe or replicate a recipe, well I'm going to do everyone a favor and NOT. The food wasn't great, and I'm so happy to be home and to have eaten a full meal knowing exactly what everything was and what it was going to taste like. One thing I do want to try making sometime is Gazpacho, which I did try for the first time in Cuba, we'll call that my Cuban inspired recipe when the time comes. 

I did, however, get some pictures of some of the food at our resort.
Traditional Spanish Seafood Paella

Freshly baked bread all the time! And fresh Pizzas!

When you order a Caesar Salad and this is put down, you can't help but laugh.
The differences in food and culture were huge! The experience was a great one for sure, I loved Cuba, it's beaches and the relaxation there. But I missed my Daughter so much I was probably the happiest person leaving that island yesterday. It was great to get away and great to be back!

Thursday, April 7

Peanutty Brittle

Its been many years since I've had homemade peanut brittle, something Mom used to make every once in awhile as a little treat. Everyone knows that store bought is no where near as good. A little while ago I was at the Bulk Barn browsing around and I came across the unsalted peanuts and the first thing that crossed my mind was peanut brittle!!!  Finally today I got around to making some and it turned out great, here's the recipe I used.


Peanut Brittle
1 c sugar
1/2 c corn syrup
1/4 tsp salt
1/4 c water
1 c peanuts 
2 tbsp butter or margarine
1 tsp baking soda

Grease a large cookie sheet, or cover with a sheet of parchment. I taped down the edges of my parchment to avoid fighting with it when I had hot sugar in my hands.

Over medium heat bring sugar, corn syrup, water and salt to a boil. Stir until sugar is dissolved and then stir in peanuts. Continue cooking until it reaches 300 degrees. Stirring frequently.

Remove from heat, immediately stir in butter and baking soda. Pour onto cookie sheet and stretch with 2 forks, helping it fill the pan. 

Let sit for at least 1 hour, break into pieces and enjoy!

So this will be my last post for awhile, Im taking a vacay! Ill have lots to share when I get back to it, going to try and get my hands on or try and replicate a Cuban recipe. Should be interesting! 

Bon Voyage!

Monday, April 4

Chocolate Salted-Caramel Cupcakes

I've been wanting to try this recipe for awhile now, but the fact that you have to make caramel has been keeping me from trying it. Cooking sugar and I do NOT mix! I always burn it or don't let it cook long enough so its gooey. I think there has been one time outta of many many attempts that I have successfully made fudge. ANYWAY back to the cupcakes...another page out of Martha's Cupcake Book, I'm telling you everyone should have this book! 

So tomorrow my father in law is flying home from Alberta and it also happens to be their 25th Wedding Anniversary! Needless to say Ill be making them a special dinner, and in my house cupcakes is just a given. I love when company comes because it gives me a chance to make something different and it actually gets eaten (I have a house of picky eaters) This is what I chose for their Anniversary dessert! 


Salted Caramel Filling
1 1/4 c sugar
1/3 c water
2 tsp corn syrup
1/3 c heavy cream
1 tsp sea salt

Heat sugar with the water and corn syrup in a saucepan over med-high heat. Stir occasionally until syrup is clear. Clip a candy thermometer to the side of the pan. Stop stirring and cook until syrup comes to a boil, wash down the sides of the pan with a wet pastry brush as needed.
Continue to boil, swirling the pan occasionally until the mixture is caramelized and has reached 360 on the candy thermometer. Remove from heat and add salt and cream (mixture is going to bubble up and spatter, be very very careful). Stir using a wooden spoon until smooth. Use immediately.

Spoon a tsp or 2 into the hole you cut into the cupcakes, being very careful not to burn yourself. Sprinkle each filled cupcake with a small amount of sea salt. Should look something like this...


You could serve them just like this and they would be just fine! BUT!! The icing on these is sooo good! So I highly recommend taking the extra time and make some up, chocolate of course!
Enjoy!


 I'm very happy that I tried this recipe FINALLY! I'll definitely be making it again that's for sure!

Friday, April 1

Bre's Cupcake Portfolio

Last fall I decided that I would start making cupcakes to sell. Starting small with a simple ad on kijiji to see where it would take me, to see if people were actually interested in cupcakes. So right away I got a few friends of friends interested for their kids birthdays. Perfect Start! Excuse these first few pictures, they are all pre-kitchen aid.

Pink and brown ladybug first birthday

For a little girls Spa Party

Then it was Christmas and I just wanted to focus on family and the holidays so I didn't bother to re-post my ad. WELL!! I received two of the best Christmas presents ever! #1: My Kitchen Aid from my parents...my new toy! #2: My Wilton decorating kit from my husband! Two awesome gifts that went hand in hand! Let the baking commence...


The new edition! YAY!
Makin my life easier! and my blog more exciting!

Anyway so after the holidays I re-posted my ad and continued making more cupcakes to ad to my personal portfolio.  Resulting in cupcakes for every occasion and no occasion...
First time making and using fondant

Chicken Birthday Party

Bridal Shower, First time using fondant on a cake.
Valentines Day!


Sunday Dinners

2nd Birthday!

Again, all the cupcakes for the 2nd Birthday

Cocktail Party


St Patricks Day!

I received a response to my kijiji ad about a picture I had of some bachelorette cupcakes I made, the lady said I should mark my ad PG or "18 and over only" So instead of posting the picture directly on this page I'll link them...
Bachelorette Cupcakes, Bachelorette Cupcakes 2

Finally! About 3 weeks ago I get a response to my ad about cupcakes for a baby shower....this is the best part...FROM SOMEONE I DIDN'T KNOW! haha So today I spent the morning making these cupcakes for her.

I unfortunately did not make these cupcakes, this is my model for her cupcakes. She asked for Modern, loved these and these colors.

This is what I spent my morning making...I am proud to say these are mine! Even if they arent identical! =)
Baby Shower for a little boy!

 About 10 minutes after I finished making these I was chatting with girl I made cupcakes for before. She is throwing a baby shower...and asked if I would make cupcakes for it! Well OF COURSE!! So happy I already have my next project.